A critical backup option in cloud storage refers to a reliable and essential backup solution that ensures your data is protected and accessible in case of primary storage failure or loss. With Critical Backups, you can securely store your files in 5centsCDN cloud storage while also transferring them to other platforms such as AWS S3, Microsoft Azure, Google Drive, Akamai Net Storage, and more. Simply upload your files to 5centsCDN, and the system will handle the storage and automatically transfer them to your configured platforms at specified intervals, ensuring the safety and accessibility of your files across multiple platforms.
Steps to Configure the Critical Backup Feature with 5centsCDN
- Go to the 5centsCDN Dashboard
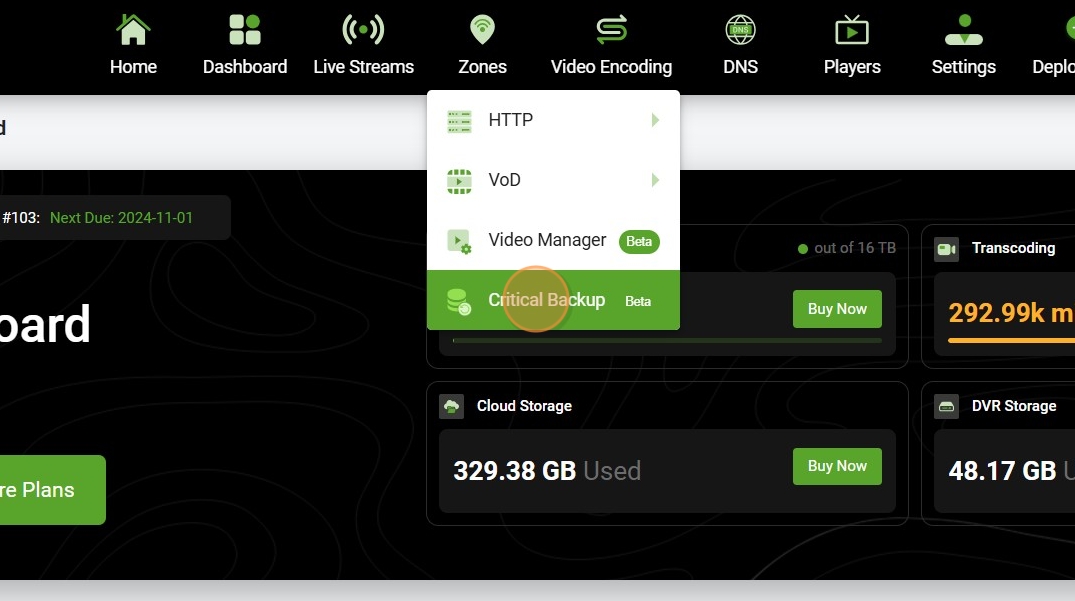
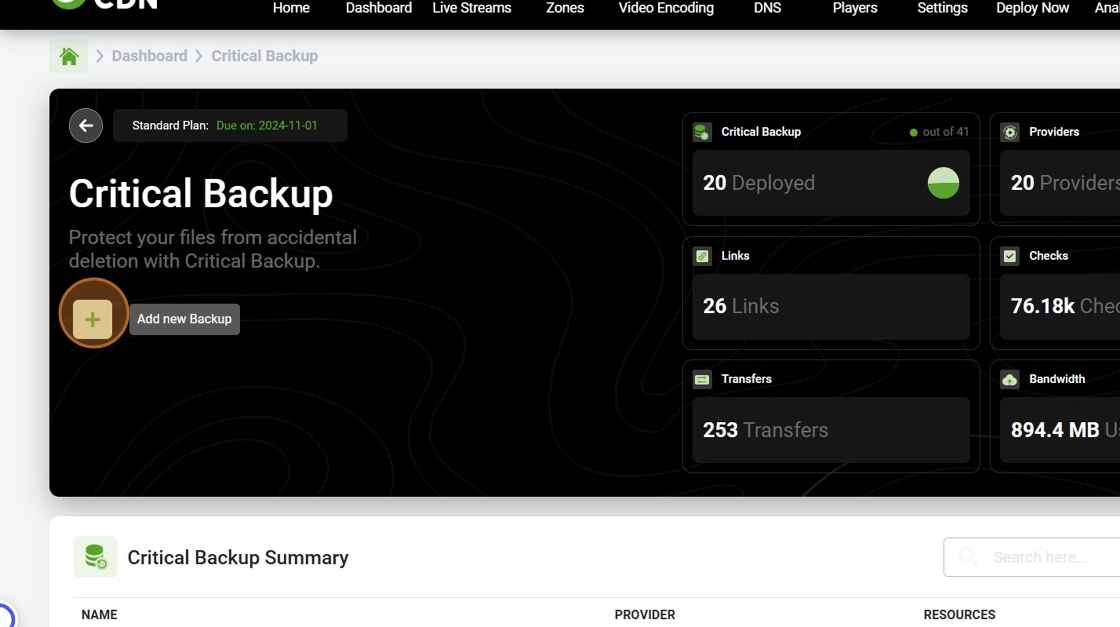
Navigate to the dashboard. Under Zones, go to Critical Backup and click the plus (+) or Add New button in the top-right corner. - Create a Backup Profile
- Provide a name for your backup.
- Select the provider (Amazon S3, Microsoft Azure Blob Storage, Backblaze B2, etc.) to store or copy the files as a backup.
- Authenticate the Provider
After selecting the provider, add the necessary authentication details based on the provider you are using. - Create the Backup
Once the details are added, click CREATE and wait a few seconds for the Critical Backup to be deployed. - Configure Backup Zones
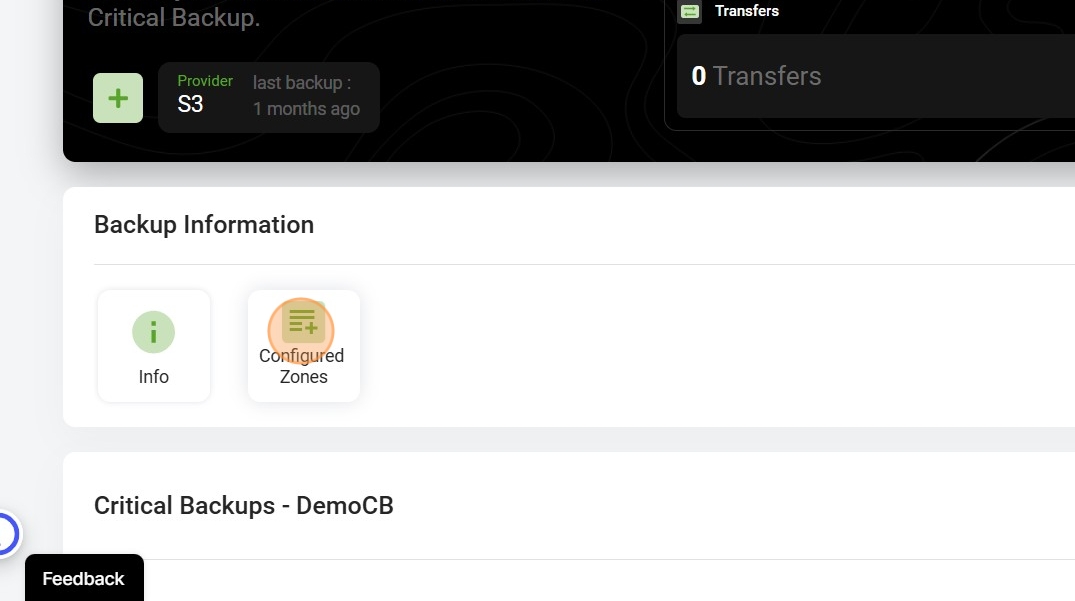
- After deployment, you’ll see a new option called Configure Zones.

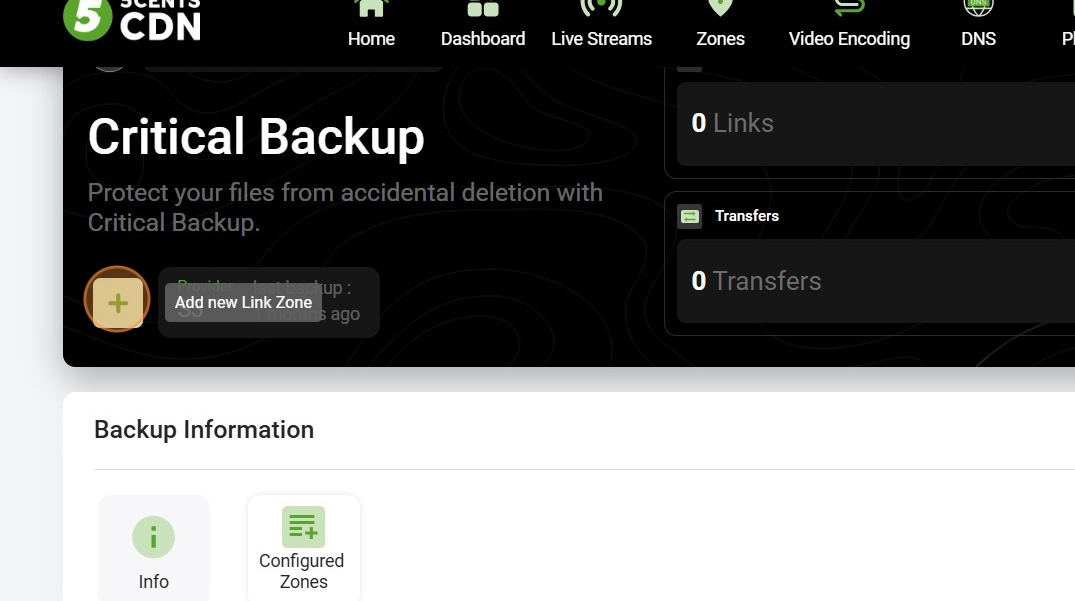
- Click on the plus button (Add new zone) to select the zone you want to back up to your preferred storage provider.

- After deployment, you’ll see a new option called Configure Zones.
- Configure Backup Criteria
- Select the zone and configure the criteria for how the files should be moved to the backup storage.
Backup Modes
There are four modes available for storing or copying files:
- 5centsCDN -> Your Cloud Platform (Copy Right):
Copies all files from 5centsCDN storage to the selected platform. At the specified interval, it will check and copy newly added files to the configured platform. - 5centsCDN <- Your Cloud Platform (Copy Left):
Copies all files from the selected platform to 5centsCDN storage. The system will periodically check and copy new files from the added platform to 5centsCDN storage. - 5centsCDN -> Your Cloud Platform (Sync Right):
Syncs all files from 5centsCDN to the added platform. At the specified interval, any changes (additions or deletions) made in 5centsCDN storage will be replicated on the selected platform. - 5centsCDN <- Your Cloud Platform (Sync Left):
Syncs all files from the added platform to 5centsCDN storage. At the specified interval, changes made on the platform will be mirrored in 5centsCDN storage.
Additional Settings
- Run Every:
Set the interval to copy or sync the files. Newly uploaded files will be automatically copied to the backup storage according to the designated interval. - Comparison Mode:
Choose how files should be compared between the source and remote storage (e.g., file size, modification date). - Case Sync:
Enables case-insensitive synchronization. Files won’t be copied or synced if they have the same names, even if the cases differ. - Source and Destination Directory:
Specify the source directory from which files will be copied or synced, and the destination directory where the files will be stored. - Filters:
Use filters to include or exclude specific files or paths based on patterns. - Backup:
If enabled, files that would have been overwritten or deleted are moved to a backup directory in their original hierarchy. Leave blank to disable this feature.
Finalizing the Setup
Once the zone configurations are complete, click CREATE to deploy the backup. The configurations will take a few minutes to finalize. You can then log into your backup storage to verify that the backup has been created.
Moving forward, any newly uploaded files will be automatically copied or synced to the backup storage at the designated time intervals.


