- Create a Pull Zone inside 5centsCDN dashboard before you start with the WordPress CDN integration.
Create an HTTP Pull in 5centsCDN
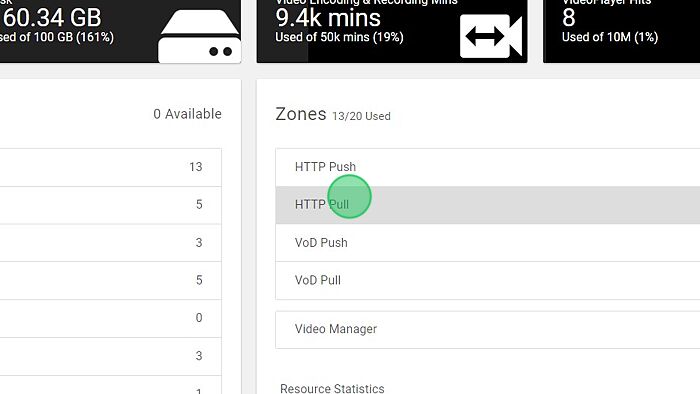
1. Navigate to the 5centsCDN control panel
2. Click “HTTP Pull“
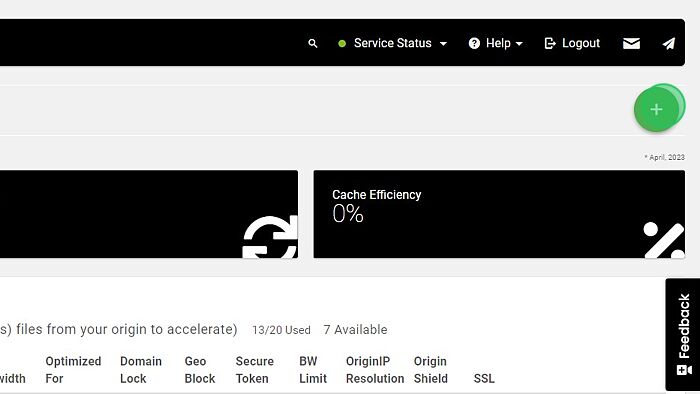
3. Click the green plus button
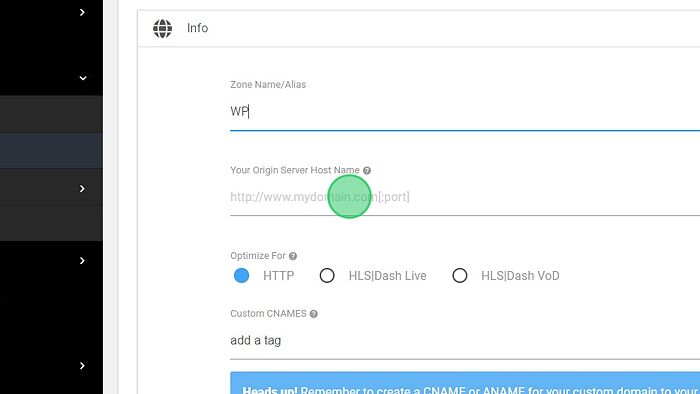
4. provide a Zone Name(Optional)
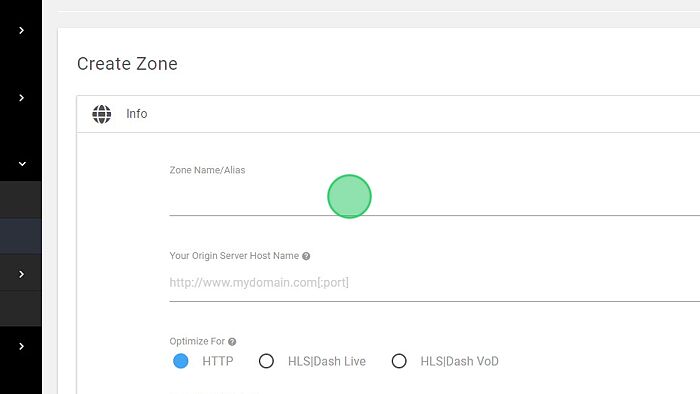
5. Provide Your Origin Server Host Name
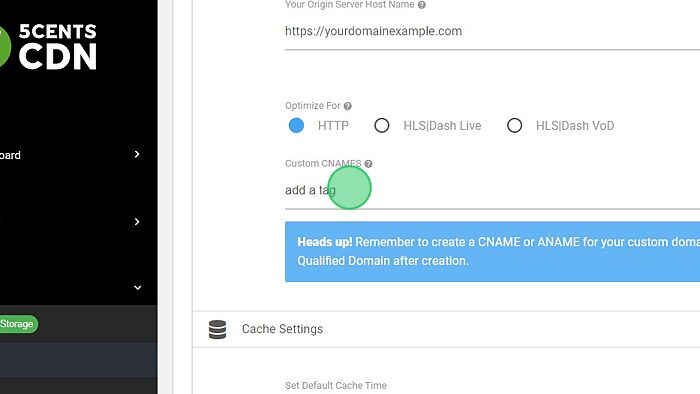
6. Click “HTTP” in Optimize For
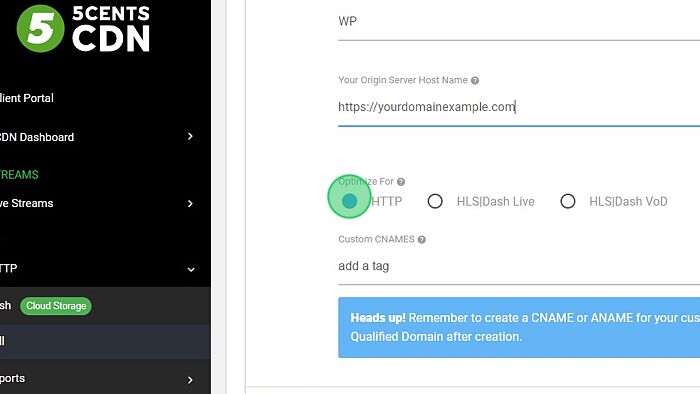
7. You can add Custom CNAMES here
8. For Whole Site Acceleration, you can enable this option and add your origin server IP address and Custom Host Header

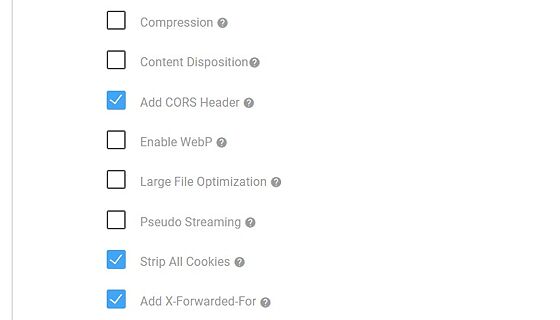
9. Select the appropriate settings in “Edge Settings”.
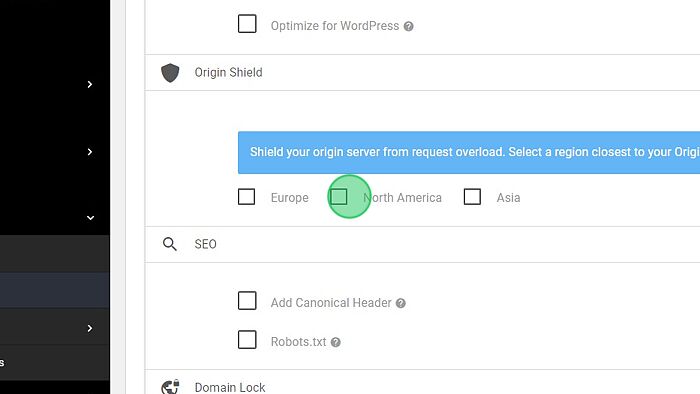
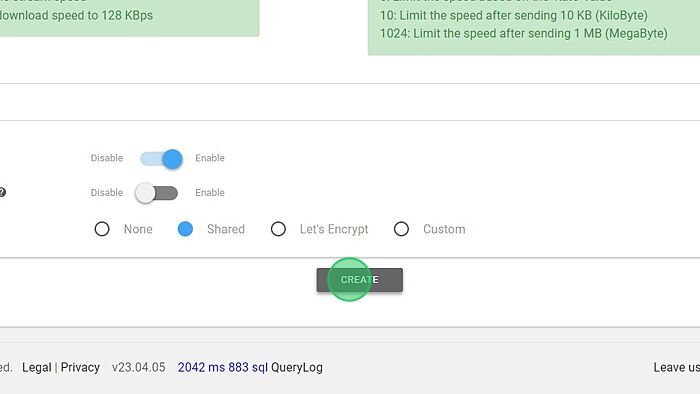
10. Choose the nearest Shield server to your origin server
11. Enable SSL and choose the appropriate SSL type.
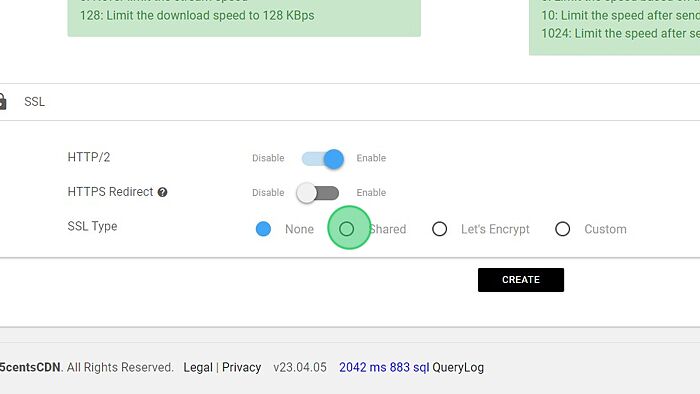
12. Click “Let’s Encrypt” if you have added CNAME
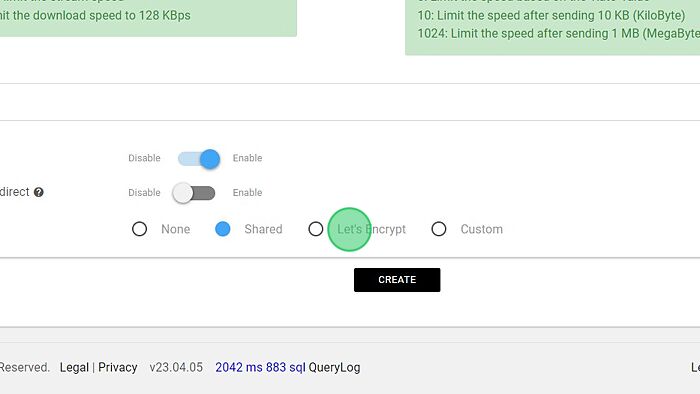
13. Click “CREATE“
The above steps are explained in the video
The pull zone has been created in the 5centsCDN console. The next step is to install and activate the plugin in your WordPress.
Configure the 5centsCDN plugin in WP
1. log in to your WordPress account
2. Click Plugins
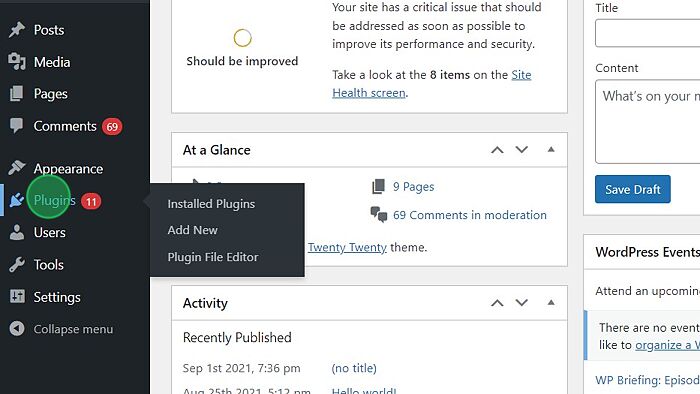
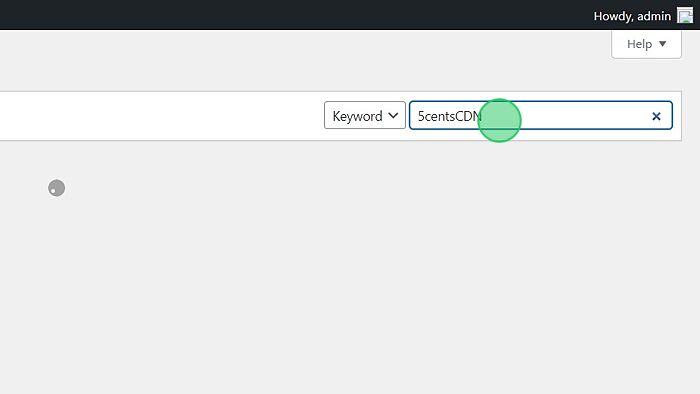
3. Click “Add New“
4. In the search field, Type “5centsCDN“
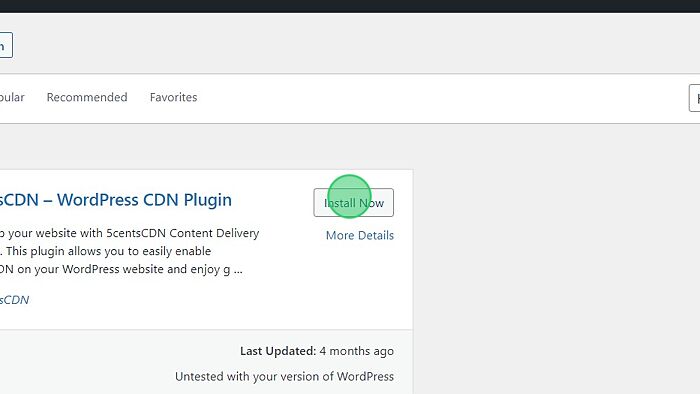
5. Install 5centsCDN-WordPress CDN Plugin
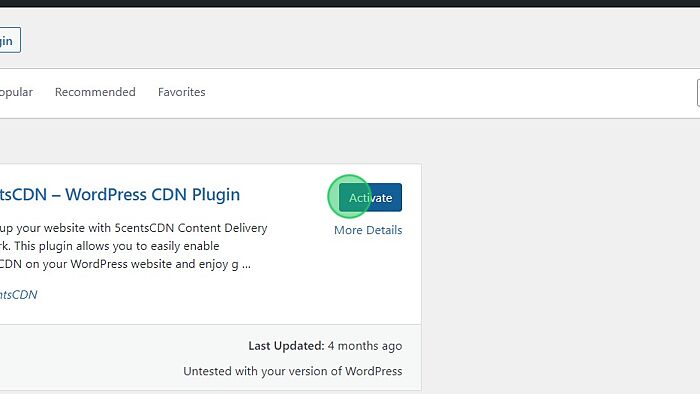
6. Click “Activate“
7. Click “Settings“
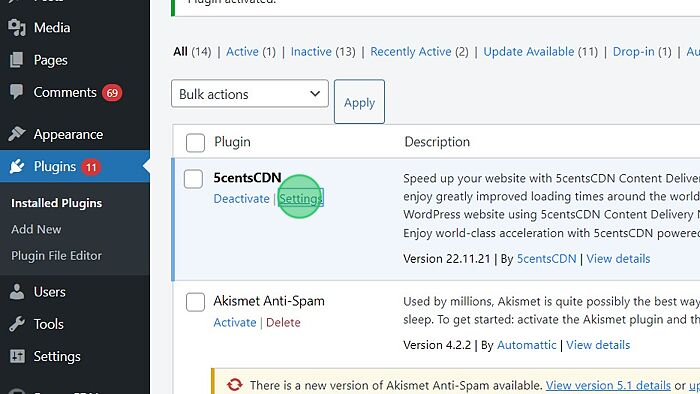
8. Switch to 5centsCDN Dashboard
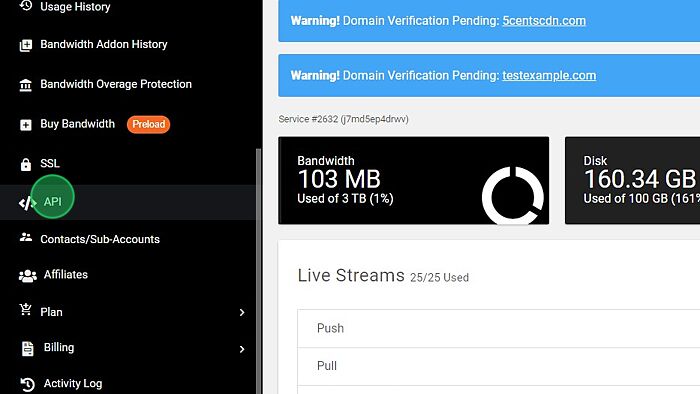
9. Click “API“
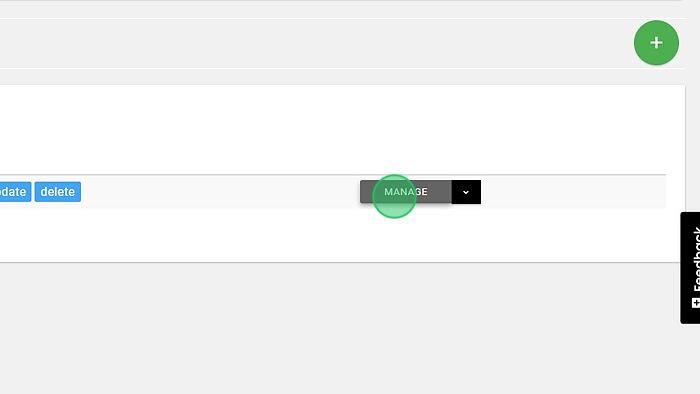
10. Click “MANAGE“
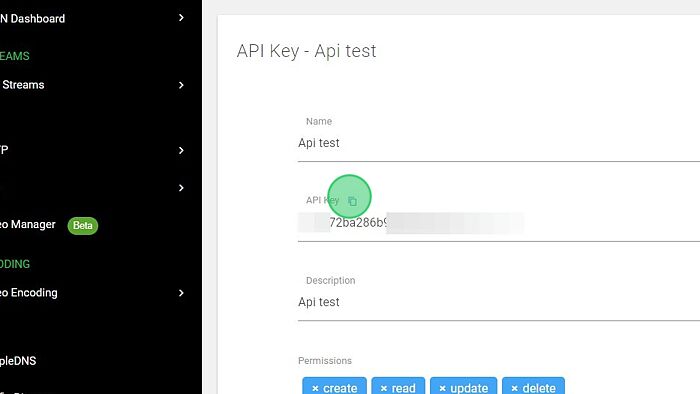
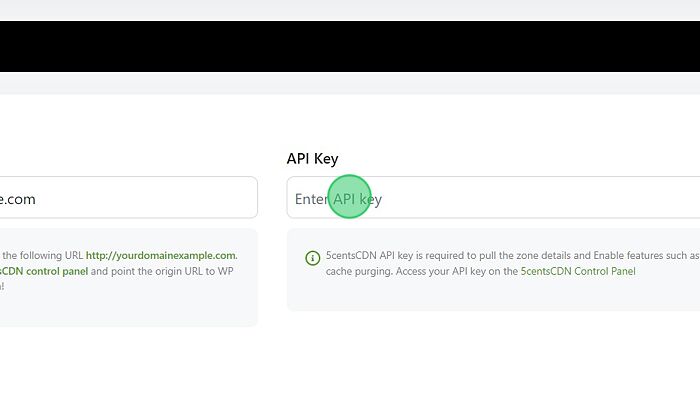
11. Copy the API Key. If you are not created it, you can click here
12. Go back to WordPress, Click the “Enter API key” field, and provide the API Key. Click the “Connect” button
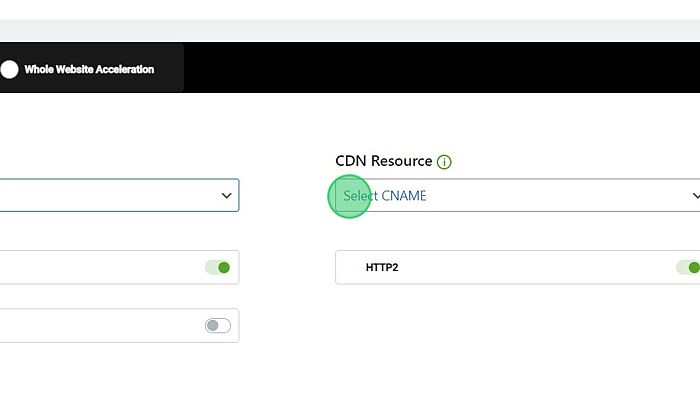
13. You can choose the appropriate acceleration type. Asset Acceleration or Whole Website Acceleration. If you are looking for Whole Website Acceleration, you need to do the necessary changes to the pull zone. Click here

14. Select the Pull Zone from the list and choose the CDN Resource. If you have added the CNAME to the zone then you can choose the CNAME from the list
15. You can configure the HTTPS option. If it’s already configured in 5centsCDN, then you can see it’s enabled here.
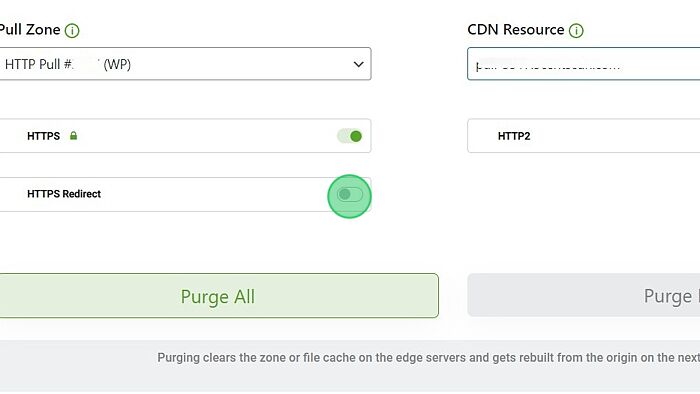
16. Click “Save Settings“
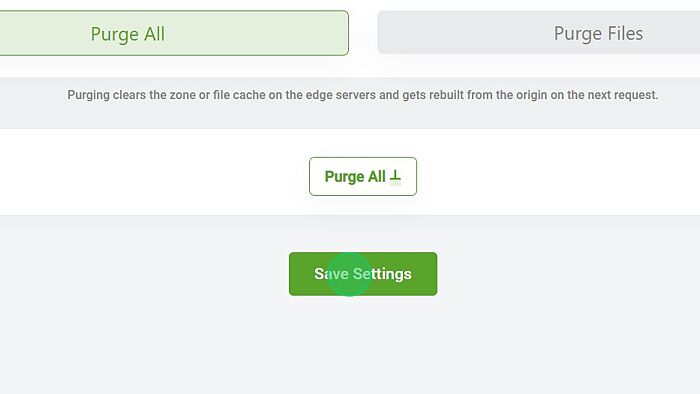
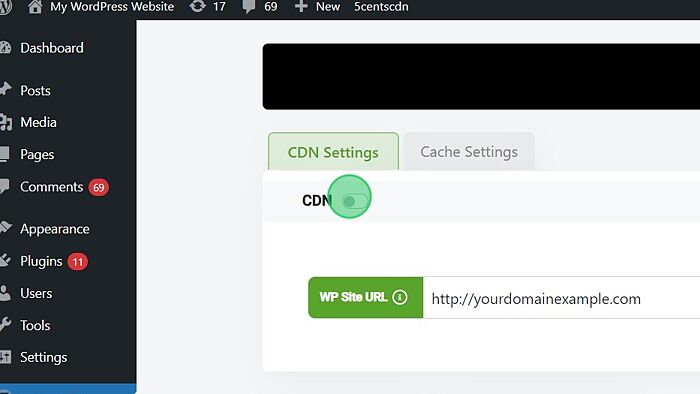
17. You can enable CDN here. Once it’s enabled your website will be delivered via CDN.
Pingback: ไปโรงงานจีน
Pingback: Aviator
Pingback: pg168
Pingback: ปั้มไลค์
Pingback: massage Bangkok
Pingback: winomania
Pingback: jav
Pingback: ติดต่อโรงงานจีน
Pingback: แฟรนไชส์น่าลงทุน