- Create a Pull Zone inside 5centsCDN dashboard before you start with the PrestaShop CDN
integration.
- Login to 5centsCDN dashboard
- Go to Zones and select ” HTTP Pull”.
- Click the green plus button to create a new pull zone.

4. Provide your static website URL which needs to be accelerated at the Your Origin Server Hostname.
5. You can set your custom CNAME that can be used to retrieve your content so that the request will be redirected to our CDN. To make this happen you need to contact your DNS provider and add the custom CNAME in the DNS record to redirect the same to our CDN.
6. Under Cache Settings, you can set the cache expiry period as required.
7. Ignore Query String: When enabled, this option will treat each of the uploaded files with Query Strings as a separate cacheable file.
8. Origin IP Resolution configures your zone to use a different IP address for your origin server.
9. By setting the Bandwidth Limiter you can limit the speed based on the ‘Rate’ value after reaching a specified Bandwidth Limit.
10. Click on the Create Button.
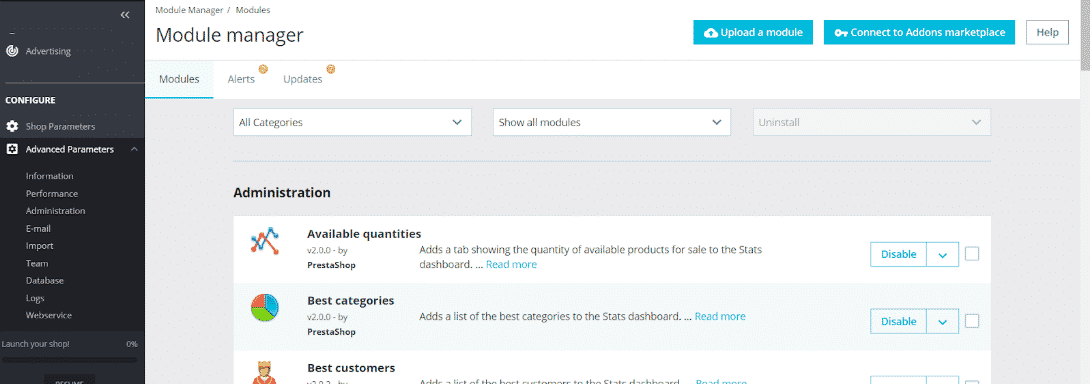
- Log in to the admin panel of PrestaShop.
- Go to “Advanced Parameters” and click “Performance”.
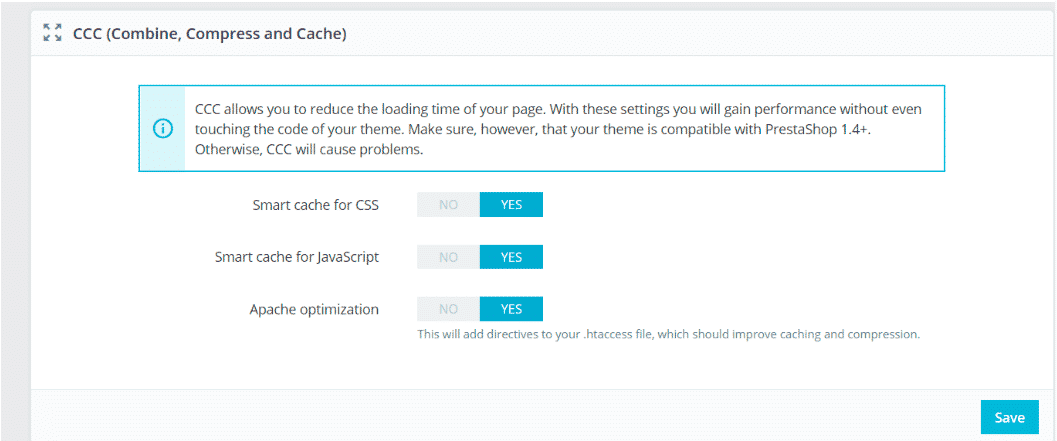
- Scroll down to the “CCC (Combine, Compress and Cache)” section and select the following choices as shown in this screenshot. Then click Save
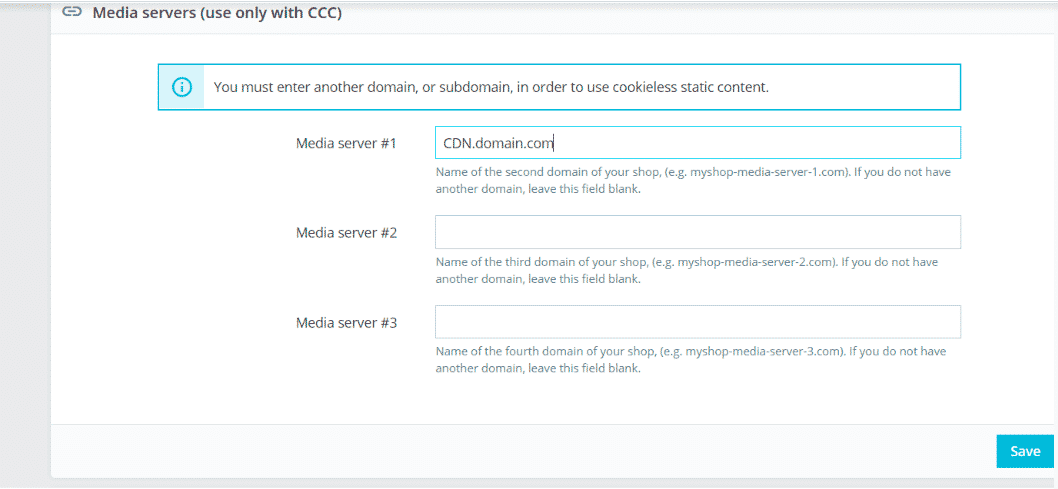
- Scroll down to the next section called “Media servers (use only with CCC)”. In the field “Media Server #1” enter your CDN URL that you get from the 5CentsCDN dashboard (e.g. yourdomain.com) or alternatively you can use a CNAME/Zone Alias (e.g. cdn.domain.com).
- Save all the settings.